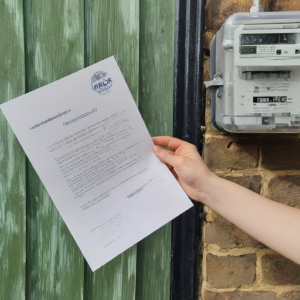
How to Change FESCO Connection Name
A Comprehensive Guide to Change FESCO Connection Name
Introduction
Whether you’ve recently purchased a property or simply need to update your personal information, changing the name on your FESCO electricity bill is a straightforward process. This guide will walk you through the steps involved, ensuring a smooth and hassle-free experience.
Understanding the Importance of Name Change
Accurate billing information is crucial for maintaining a seamless relationship with your electricity provider. A name change not only ensures that your bill is addressed correctly but also helps prevent potential misunderstandings and disputes.

Benefits of Changing Your Name
- Correct Billing: Avoid receiving bills under the wrong name.
- Accurate Records: Maintain accurate records of your electricity usage.
- Enhanced Security: Protect your personal information by ensuring your name matches your identity.
- Efficient Communication: Ensure clear and timely communication with FESCO.
Gathering Required Documents
Before initiating the name change process, gather the following documents:
- CNIC (National Identity Card): A copy of your updated CNIC.
- Electricity Bill: A recent copy of your FESCO electricity bill.
- Ownership Proof: Provide proof of ownership of the property where the electricity connection is registered. This could be a property deed, sale agreement, or rental agreement.
- Attested Copy: Ensure that all documents are attested by a competent authority.
Online Application Process
- Visit the FESCO Website: Access the official FESCO website.
- Locate the “Change of Name” Option: Look for the relevant section or link.
- Fill in the Application Form: Provide accurate details such as your reference number, CNIC, current name, new name, and contact information.
- Upload Required Documents: Attach scanned copies of the documents you gathered.
- Submit the Application: Review the information carefully before submitting.
Offline Application Process
If you prefer an offline approach, you can visit your nearest FESCO office. Follow these steps:
- Obtain an Application Form: Request a change of name application form from the FESCO office.
- Fill in the Form: Complete the form accurately, providing all necessary details.
- Attach Required Documents: Submit the required documents along with the form.
- Submit the Application: Hand over the completed form and documents to the FESCO representative.

FESCO BILL
Additional Considerations
- Processing Time: The processing time for name changes may vary. It’s advisable to submit your application well in advance to avoid any delays.
- Customer Service: If you encounter any difficulties or have questions, contact FESCO’s customer service for assistance.
- Verification: FESCO may conduct verification procedures to ensure the accuracy of the information provided.
Conclusion
Changing your name on your FESCO electricity bill is a relatively simple process. By following the steps outlined in this guide and providing the necessary documentation, you can efficiently update your information and ensure accurate billing. Remember to be patient and allow sufficient time for the process to be completed.


very nice information